


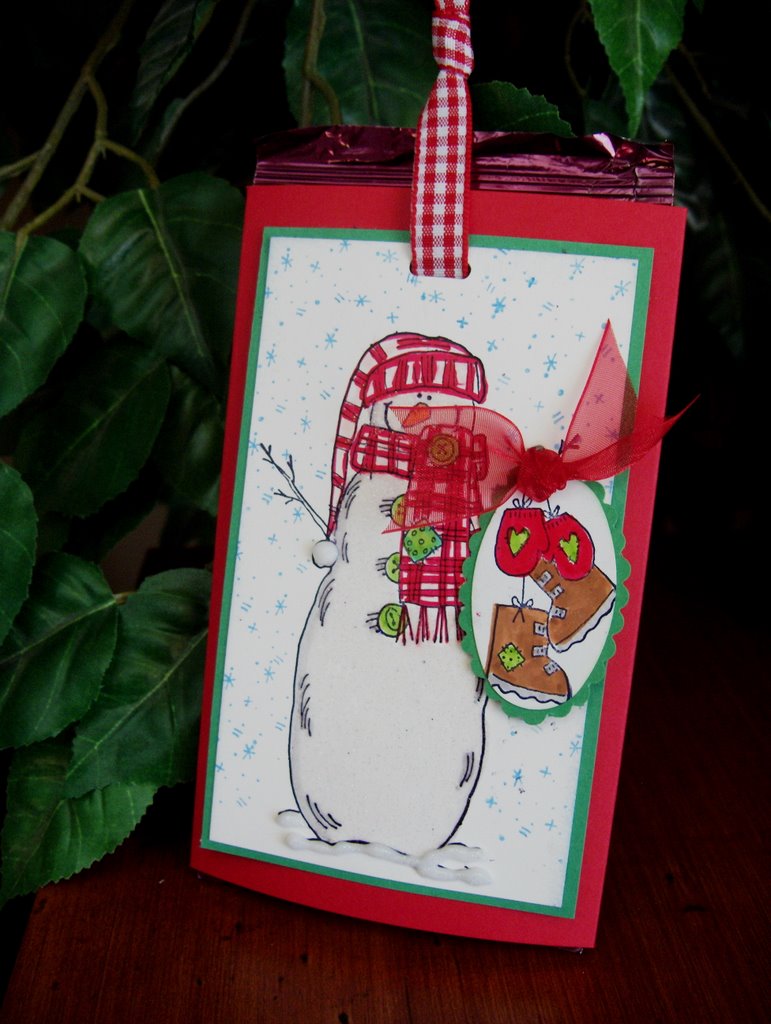
Double Pocket Card with Tags Tutorial

Hi Everyone! I created this tutorial in the attempt to use up my scrap designer paper. I'm trying to come up with creative ways to use up paper. I get bored doing the same things so I'm trying to brainstorm and come up with different projects.
Anyway, I posted another sample on Stampin Inspirations if you want to check it out. This is a super easy double pocket card design. . .no fancy folds or anything like that. It's not even a real creative way of creating the pockets but hey, it works! LOL! I guess that's all that matters. Besides, I don't like complicated projects. Try it out and you'll see how easy it is to create it.
 Here are the tags removed from the pockets.
Card Details:
Papers: DCWV Glitter stack
Accessories: Prima flower, Joann Heart brad, satin ribbon, K&Co Tags to go, K&Co Shapes & Tags

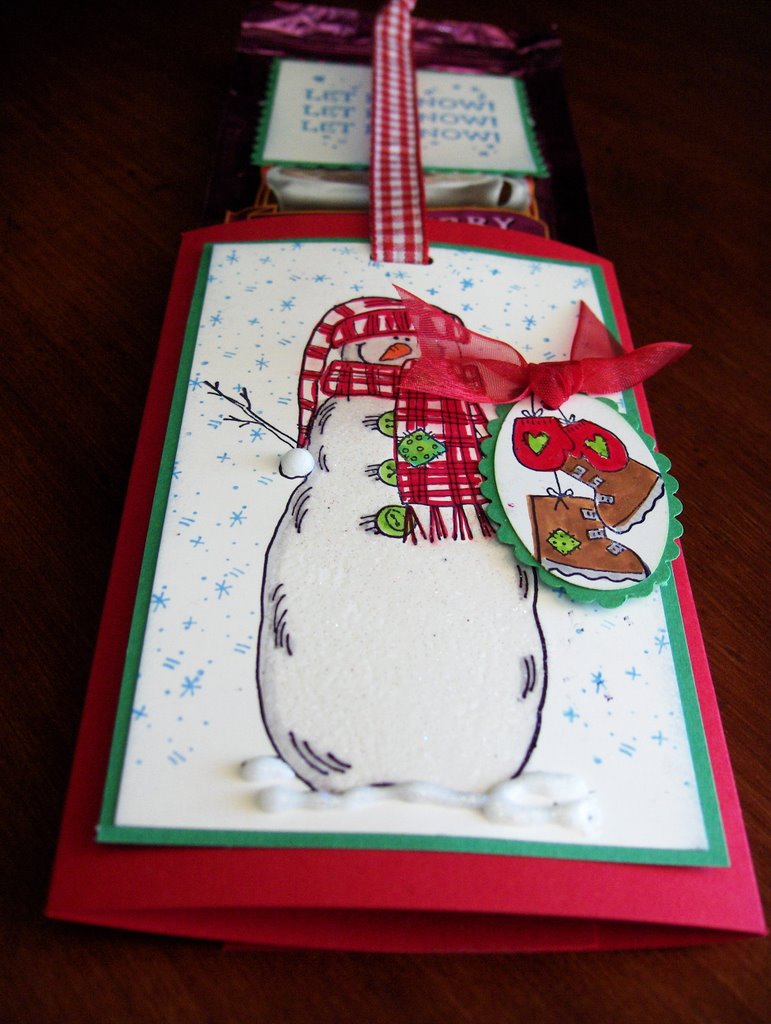
Here is another double pocket card but with a different design. I did a mini tutorial on my previous post if you want to try it out. Just scroll down. Again, just me finding creative ways to use my scrap designer paper. With this pocket card, the pockets are horizontal.
 Here are the tags removed from the pockets.
Card Details:
Paper: Colorbok designer paper, striped paper (don't know), cardstock (don't know)
Accessories: K&Co Tags to go, K&Co Shapes and Tags, Prima flowers, Basic Basic ribbon


